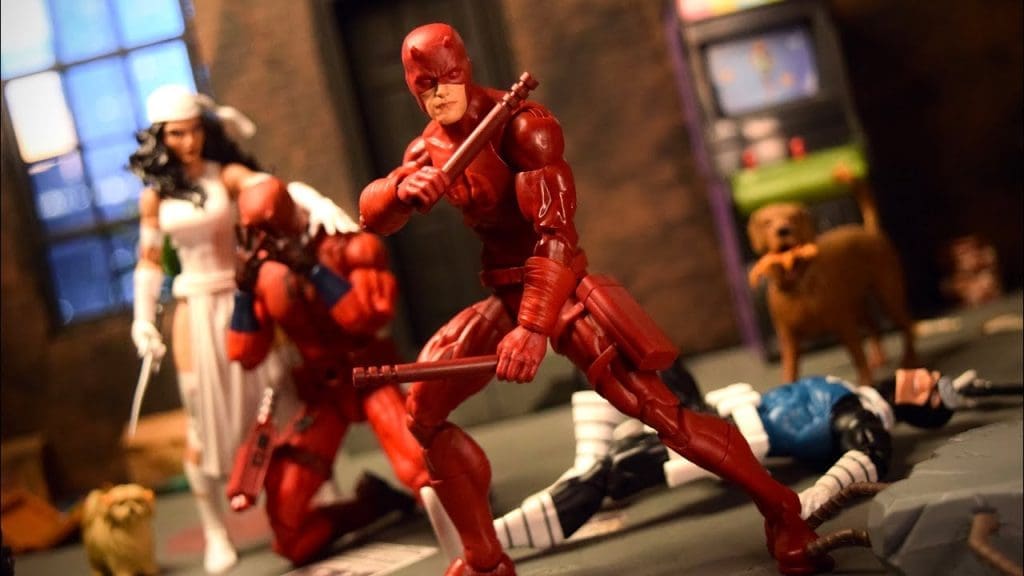
Marvel Legends are cherished by both kids and adults globally. However, frequent handling and play can lead to loosened joints over time, hindering their ability to hold dynamic poses. Here’s a guide to fixing loose joints on your action figures:
Tightening Ball Joints
- Identify the loose joints that need attention. Typically, multiple joints may require tightening.
- Carefully disconnect the affected joints by gently pulling them apart. For instance, to work on a knee joint, hold the thigh and calf securely while pulling the joint apart. Avoid using excessive force.
- Apply a thin layer of clear nail polish to both the ball and socket parts of the joint.
- Allow the nail polish to dry completely, usually for about an hour.
- Reassemble the joint by pressing the ball side back into the socket side.
- Test the tightness of the joint by moving it back and forth.
- Repeat steps 2-5 if necessary. Particularly loose joints may require multiple coats of nail polish for adequate tightening.
- To reinforce the plastic, place the action figure in the freezer for approximately 30 minutes. The cold temperature will help reset any softened plastic, enhancing joint tightness.
Tightening Swivel Joints
- Assess the loose swivel joints that need attention and focus on tightening those specifically.
- Cut a small piece of craft paper, approximately one-third the size of the joint. Choose a paper color that matches the joint’s color as closely as possible.
- Using a toothpick or razor knife, carefully insert the craft paper into the joint. You may need to maneuver the joint back and forth during insertion. Ensure the paper is not visible once inserted.
Alternate Method for Swivel Joints
- Identify the loose swivel joints requiring tightening. Begin with major joints before addressing smaller ones to avoid complications.
- Apply a single drop of clear nail polish into the joint, aiming to distribute it evenly inside.
- Move the joint back and forth to ensure the nail polish spreads uniformly within the joint.
- Allow the nail polish to dry completely for at least an hour. Periodically move the joint during drying to prevent it from sealing in one position.
- Repeat steps 2-4 as needed. More drops of nail polish may be necessary for severely loose joints.
Tips:
- Apply nail polish sparingly to prevent messiness.
- When working with swivel joints, using a toothpick for nail polish application can be helpful.
- Use a soft kitchen scrub pad to remove any glossy residue left by excess nail polish.
Warnings:
- Exercise caution when using sharp tools like a razor knife to avoid damage to the action figure and prevent injury.
- While super glue can be an alternative to nail polish, it may damage certain plastics, leave white residue, and be messy to work with.
- Beware of glossy fingerprints from nail polish; avoid touching it with your fingers during application.
- Do not exert excessive force on joints to prevent damage to the action figure.
- Avoid leaving the action figure in the freezer for more than 30 minutes to prevent brittleness in the plastic.


