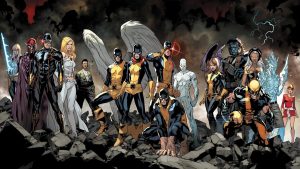
Introduction to Custom Marvel Legends
Custom Marvel Legends are more than mere playthings; they’re personalised pieces of a fan’s passion. Starting with a base figure, enthusiasts refurbish and modify it to craft a one-of-a-kind superhero or villain. It’s about letting creativity run wild, swapping heads, painting over the old color schemes, or even sculpting new components to perfectly capture a beloved character. Jumping into this hobby isn’t just about honing your craftsmanship—it’s about expressing your individuality and connection to the Marvel universe. Whether it’s showcasing a lesser-known character or reimagining a classic hero, each custom figure tells its own story. It’s a rewarding journey, one where you’ll learn both artistic and technical skills, from simple repaints to intricate modifications. So grab your tools, and let’s bring those Marvel fantasies to life!

Tools and Materials You’ll Need
Diving into the world of custom Marvel Legends? Start with the right gear. You’ll need some basic tools: sculpting putty for details, acrylic paints, and a set of brushes for those fine touches. Don’t forget a good pair of pliers and a hobby knife to cut and adjust pieces. Materials matter too—grab various plastic parts from old figures, maybe a donor Marvel Legend for body parts. Adhesives hold your creation together; super glue does the trick. Seal everything with a clear coat. Costs vary, but investing in quality tools pays off by keeping your custom figures looking epic battle after epic battle.
Planning Your Custom Marvel Legends Project
Before diving into your custom Marvel Legends, it’s key to plan. Think about the character you want to bring to life. Is it a fan-favourite hero with a new twist or maybe a personal spin on a classic villain? Research the design. Are you going for comic accuracy or your own unique version? Next, list the parts you’ll need. This can include base figures, paint, tools, and any special accessories or pieces for modifications. Consider the costs. While it’s tempting to grab the most detailed figures as a base, sometimes simpler, cheaper alternatives can work just as effectively. Also, think about the time investment. Customising can range from a few hours to several days’ work, depending on the complexity of your project. Remember, planning is crucial to keep your project on track and your budget in check. Now you’re ready to bring that unique Marvel character to your collection!
Preparing the Base Figure for Customisation
Before you start painting and modifying, preparing the base figure is crucial. Choose one that’s closest to the character you’re aiming to create in size and shape, to save on extensive modifications later. Clean your figure with soapy water to remove any oils and dirt that could mess with the paint. Once it’s dry, disassemble it carefully. You may need to heat the parts with a hair dryer to soften them for easier removal. Next, sand down any logos or textures you don’t need; you want a smooth surface to work on. If you spot any gaps or joint holes, now’s the time to fill them with modelling putty. Let it dry well before you grab those paints. Remember, patience in prep pays off in the end result!
Sculpting and Modifying Details for Personalisation
When you’re starting to create custom Marvel Legends figures, the true magic lies in the small details. Careful sculpting and modifications let your superheroes and villains stand out. Many customisers use a material called epoxy putty for sculpting, which hardens and bonds firmly to the plastic figure. Here’s a brief on how to tackle this:
- Prep Your Figure: Dismantle your figure if possible and sand down any areas you’ll be adding to. This gives the putty a better surface to grip.
- Mix the Putty: Epoxy putty comes in two parts; mix them until uniform.
- Sculpt Away: Mold the putty onto your figure to create musculature, costumes, or even tiny facial expressions. You might add a textured pattern to a superhero’s uniform or refine the shape of a weapon.
- Smooth and Carve: Fine tools are your best friends here. Use them to smooth the putty or carve in details before it dries.
- Let it Set: Once you’re happy, let it cure which can take a few hours to a full day.
Remember, practice will make your details sharper. Soon your custom figures will be displaying personalised flair that makes them one-of-a-kind in your collection. Keep it simple to start with, and build up to more complex mods as you gain confidence.
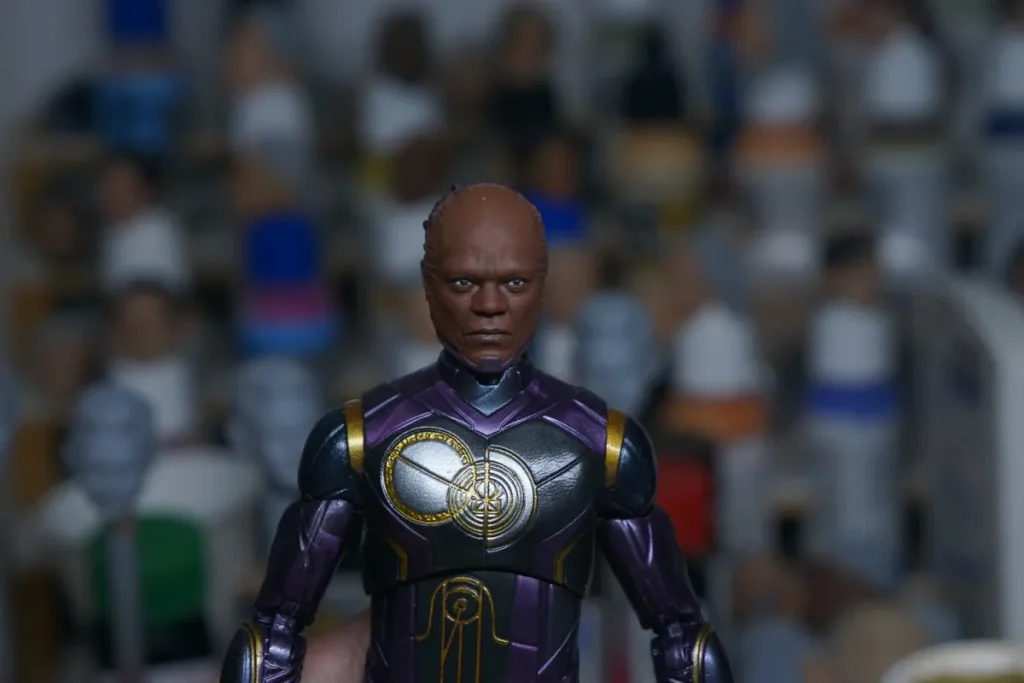
Painting Your Custom Marvel Legends Figure
When you’re ready to paint your custom Marvel Legends figure, it’s all about the details. Start by choosing high-quality acrylic paints; they stick to plastic surfaces better. Thin your paint with water or a paint medium so it flows smoothly. Apply multiple light layers to avoid brush strokes and achieve an even coat. Stay patient and wait for each layer to dry completely. This isn’t a race. To bring out the textures and features of your figure, learn the dry brushing technique. It involves using a nearly dry brush and a lighter shade to highlight the raised areas. Lastly, a clear sealant will protect your paint job from chipping. Remember, each layer adds detail that brings your character to life.
<img src="https://i.ebayimg.com/images/g/8moAAOSwDdBkb2ez/s-l1600.jpg" alt="1⁄12 Marvel legends High Evolutionary custom painted head | eBay” />
Assembling and Articulating Your Custom Figure
When it comes to bringing your custom Marvel Legends figure to life, assembly and articulation are key. Start by selecting a base figure that closely resembles your desired character in size and shape. This will simplify the process. Now, get your hands ready – you’ll be swapping parts, such as heads, limbs, or torsos, from other figures to perfect your character’s look. Make sure each piece fits snugly; if not, some minor adjustments with sanding can help.
For articulation, which ensures your figure can strike epic poses, consider the joints. Marvel Legends figures often come with multiple points of articulation – elbows, knees, wrists, and so on. If you’re mixing parts from different figures, make sure the joints match up. Sometimes, you may need to create custom joints, which can be a delicate task. But stay patient – it’s worth it for a fully posable masterpiece. Remember, your goal is to make a figure that’s not just cool to look at, but also one that can engage in dynamic action on your shelf or in your dioramas. Keep that in mind and you’ll create something truly special.
Sealing and Protecting Your Custom Marvel Legends
Once you’ve painted your Marvel Legend, it’s crucial to seal it. Sealing is the shield that protects your art. Imagine painting a masterpiece and then watching it fade. Not good, right? That’s why we seal. A sealant locks in color and detail, keeping your figure looking fresh. It’s like sunscreen for your custom figure, guarding against scratches and chips.
You’ve got options for sealants, mainly two types: matte and glossy. Matte gives a flat, non-reflective finish – perfect if you’re not into shine. Glossy, on the other hand, makes things pop like a comic book page. It’s all about what vibe you’re going for.
Apply the sealant in thin, even layers. Don’t rush; patience is your ally. More coats mean better protection, but let each one dry first. It’s like waiting for your turn to join the Avengers – timing is everything.
And there you go – seal it right, and your custom Marvel Legend won’t just survive epic battles on the shelf, it’ll look epic too.
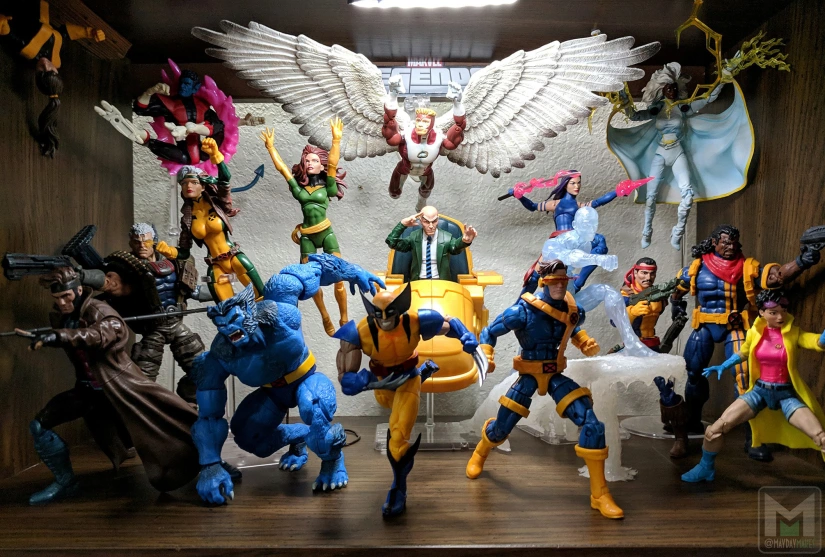
Displaying Your Custom Figures in Your Collection
Once you’ve put in the effort to make custom Marvel Legends, you’ll want to show them off. The best part about displaying them is that there are no rules. Think about what showcases their uniqueness and your craftsmanship. You can arrange them in battle scenes or iconic poses, or you might want to create a dedicated shelf for each character or team.
Consider different types of display stands or cases, something that highlights the figure and protects it from dust. Adjustable stands can also help you pose your figures in dynamic ways that regular shelves might not permit. Lighting plays a huge role too. A well-lit display can bring out all the fine details and colors of your custom figures, making them shine like the superheroes they are. Remember, how you display them is a reflection of your passion for Marvel Legends, so have fun with it!
Final Thoughts and Tips for Aspiring Customisers
Jumping into the world of customising Marvel Legends can start off tricky, but stick with it and you’ll soon be creating characters that could rival the pros. Remember, practice is key. Start by taking on simple projects and as you gain confidence, challenge yourself with more complex figures. Always be on the lookout for parts that might come in handy; sometimes the perfect piece is from an unexpected toy. Patience will be your best friend during this process – some details require a steady hand and time to set properly. And here’s a golden tip: join online communities. Fellow customizers are usually happy to share techniques and offer feedback. Keep your workspace organized and make sure you’re working in a well-ventilated area when using paints and glues. Ready to get started? Gather your tools, believe in your skills, and let your imagination lead the way to your own unique Marvel Universe.